To turn a photo into pixel art, do six things in order. Start with a clear, high-contrast image. Set the resolution, which is the pixel grid the image is rebuilt on. Limit the number of colors, because a small palette is what makes it read as pixel art. Pick a palette. Turn on dithering if you need smooth gradients in few colors. Then export by scaling up with nearest-neighbor so the pixels stay sharp. Here is the full method, and how to do each step in seconds.
One thing to settle first, because it changes everything you do next. There are two different things people call “photo to pixel art.” One is a true pixelation, a downscale of your real photo into fewer, larger pixels. The other is a generator that invents a new picture in a pixel style. This guide is about the first one, the real craft, where what comes out is what went in. More on that distinction below, because a lot of apps blur the two.
Step 1: Start with the right image
The image you feed in decides how good the result can be. Pixel art is built from a small number of pixels, so every one of them has to carry weight. A cluttered photo has nowhere near enough pixels to hold all that detail, and it turns to mush. A clean one survives the shrink.
Three things help. Enough resolution, so you have real detail to work from before you throw most of it away. A clear subject, ideally with the main shape separated from the background. And good contrast, because value differences are what still read after the color count drops. A portrait against a plain wall pixelates beautifully. A crowded street scene fights you.
Simple compositions win here. The fewer competing details, the more each surviving pixel means. If you can crop tighter to the subject before you start, do it. You are about to rebuild this image out of a handful of blocks, so give those blocks something worth showing.
Step 2: Set the resolution, the pixel grid
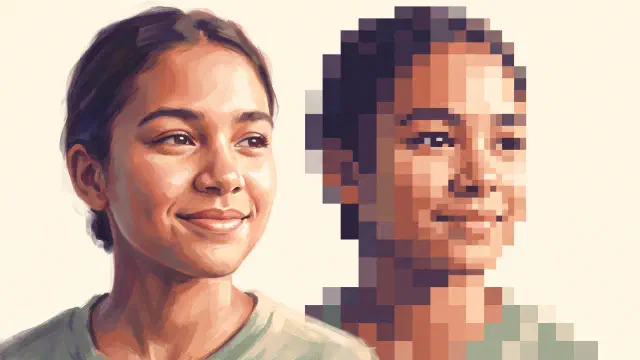
Pixel art is a deliberate downscale. You take a large image and rebuild it on a coarse grid, where each cell becomes one flat pixel. The resolution is how many cells that grid has across, and it is the single biggest decision you make.
The math is a trade. Fewer cells make bigger, chunkier pixels: more abstract, more obviously “pixel,” more retro. More cells make smaller pixels that hold more of the original detail, but past a point the result stops reading as pixel art and just looks like a slightly blocky photo. There is no correct number. There is only the number that matches how abstract you want the piece to be. An icon or avatar might live at 32 to 64 cells. A detailed scene might want 128 or more.
The way to find it is to watch the image change as you slide the count. Too coarse and the subject disappears. Too fine and the effect vanishes. The right number is usually the moment the image still reads clearly but the pixels are unmistakably pixels. In Koadro you drag a resolution slider up to 128 cells on the free tier, or 256 with the one-time purchase, and the preview redraws live, so you feel the trade instead of guessing at it.
Step 3: Limit the color count with quantization
Reducing the resolution alone does not make pixel art. It makes a small photo. The second half of the transformation is cutting the colors down, and this is the step that actually makes an image read as pixel art.
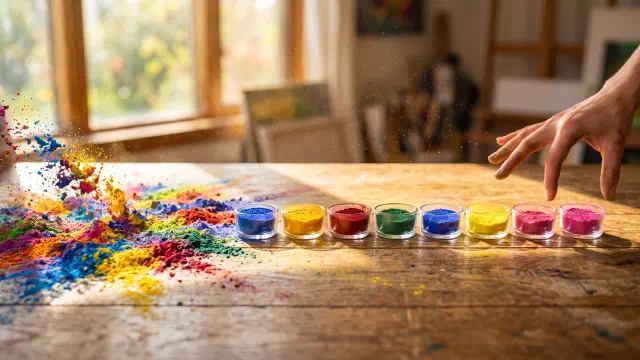
The technical name for this is color quantization, the process that reduces the number of distinct colors in an image while keeping it as visually close to the original as possible. A photo can hold tens of thousands of distinct colors across a single face, tiny gradients your eye barely registers. Pixel art works precisely because it refuses that. It picks a few colors and forces every pixel to become one of them.
In plain terms: quantization sorts all the colors in your image into a small set of buckets, then repaints each pixel with its bucket’s color. Fewer buckets, fewer colors, and a stronger pixel-art read. This is why a shrunk photo and real pixel art look so different at the same size. The pixel art has committed to a palette. The shrunk photo is still trying to show every shade it started with. Koadro lets you set the color count directly, up to 16 free and 64 with the one-time purchase, so you decide exactly how strict the reduction is.
Step 4: Choose a palette
Once you are down to a few colors, which few matters enormously. The palette is the mood. The same photo in a warm sepia set feels nothing like the same photo in cold blues. You have two ways to choose.
The first is to extract the palette from the image itself. The colors are pulled from what is actually in your photo, so the result stays true to the original and looks natural. This is the safe, faithful choice when you want the pixel art to still feel like the photo.
The second is to apply a fixed palette, a set of colors chosen in advance regardless of the image. This is where retro character comes from. The Color Graphics Adapter, IBM’s early PC graphics standard, ran famous four-color modes that give that unmistakable early-1980s look. PICO-8, a modern fantasy console, ships a fixed 16-color palette that a whole aesthetic is built on. Curated palettes do the same job with a chosen mood rather than a hardware history. Koadro carries both kinds: it can read a palette straight from your image, or apply named palettes like Nord, Noir, Matcha, Sepia, Dusk, Ukiyo-e, and Riso, plus the retro CGA and PICO-8 sets. Every built-in palette is free. Building your own custom palette is part of the one-time purchase.
Step 5: Add dithering when you need it
Cut an image to a small palette and gradients break into hard bands. A smooth sky becomes three or four flat stripes. A cheek that faded gently from light to shadow becomes a sudden step. Sometimes that banding is the look you want. When it is not, the fix is dithering.
Dithering is intentionally applied noise that scatters pixels of two colors so your eye blends them into a shade that is not in the palette at all. Two colors, mixed by distance, fake a third. It is how a limited palette can still suggest a smooth gradient, and it is why skin tones and skies can survive a brutal color cut without falling apart into stripes.
The best-known method is Floyd-Steinberg dithering, published in 1976, which uses error diffusion: it takes the small error left when a pixel is forced to the nearest palette color and pushes that error onto neighboring pixels, so the leftover shade gets accounted for nearby instead of lost. The result is the soft, grainy blend you see in old GIFs and classic game art. Turn dithering on when you want gradients and skin to stay smooth in few colors. Leave it off when you want crisp, flat blocks. Koadro offers Floyd-Steinberg, ordered, and noise dithering, all free, and you can flip between them in the live preview to see which suits the image.
Step 6: Export with nearest-neighbor scaling
You now have your pixel art, but it is tiny, only as wide as the cell count. To use it you scale it up, and how you scale it makes or breaks the result.
Most image scaling smooths as it enlarges, interpolating new in-between colors so photos look natural bigger. That is exactly wrong for pixel art. It blurs your crisp pixels into soft mush and destroys the whole effect. The method you want is nearest-neighbor interpolation, which enlarges by simply repeating each pixel with no blending. Every pixel stays a hard-edged block. As the image scaling literature puts it, this approach “is often preferred for images which have little to no smooth edges. A common application of this can be found in pixel art.”
So export with nearest-neighbor, at the pixel dimensions you actually need, and the pixels stay razor sharp at any size. Koadro exports this way by default, crisp with no blur, up to 1024px free, and up to 4096px or as a print-ready PDF with the one-time purchase. If you are printing, it can also set a real canvas and pixel size in centimeters or inches so a physical print lands at true size.
A true pixelation, not a redraw
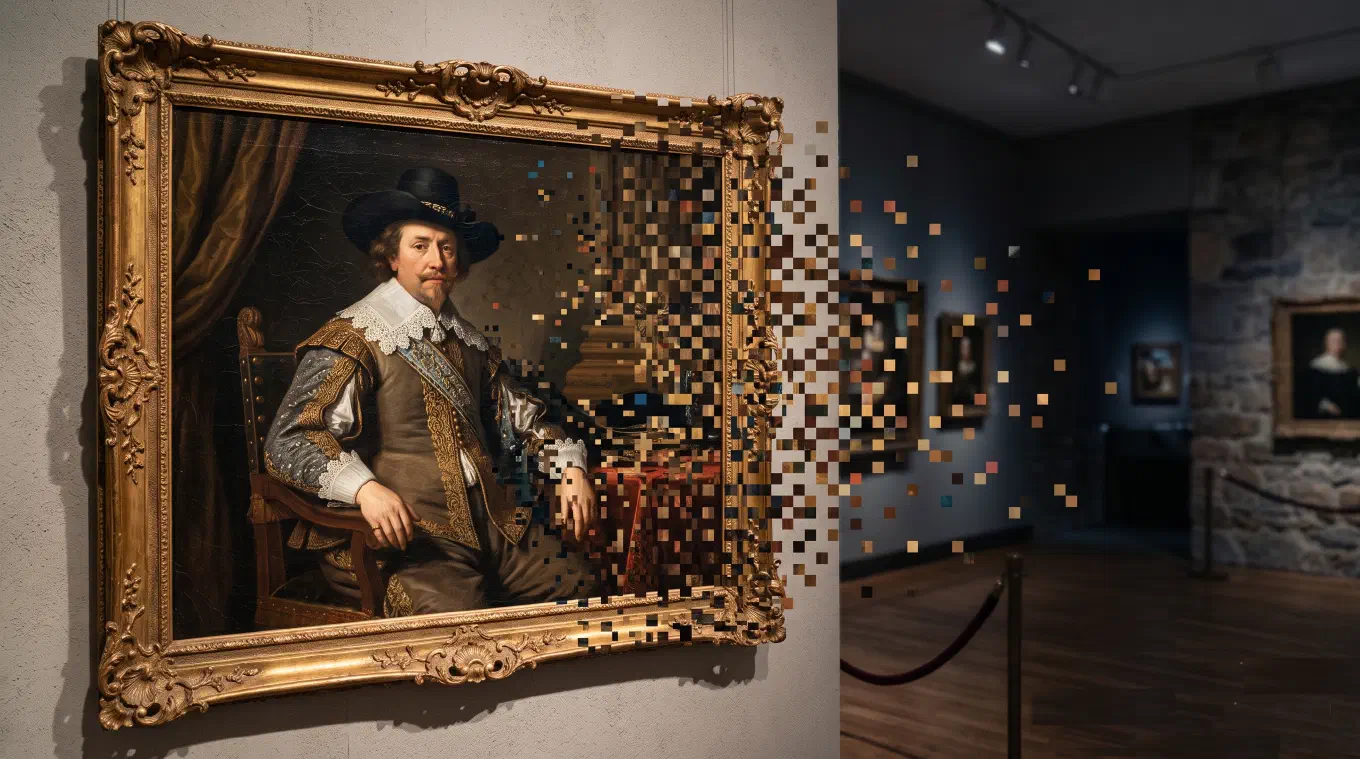
This is the distinction that matters most, and the one most apps quietly blur. A true pixelation is a downscale of your actual photo. Every step above operates on the real pixels you started with, just rebuilding them in fewer, larger blocks and fewer colors. What comes out is what went in.
A “pixel art” generator does something completely different. It reads your image or your prompt, then invents a new picture that resembles it in a pixel style. The face in the result is not your face reduced to pixels. It is a face the generator made up that looks a bit like yours. Sometimes that is what you want. But if you fed in a photo of your dog, a specific painting, a poster, or a screenshot of a game, and you want that exact thing as pixel art, a generator will not give it to you. It gives you a plausible stranger.
The honest test is simple. Zoom into the pixel art and check whether the shapes, the marks, the details are the ones from your source. In a true pixelation they are, block for block. In a generated redraw they are approximations the generator chose. Koadro is a pixelator, not a generator. It runs the six steps above with honest math, on your device, and never redraws or invents. That is the whole point of it. If you are comparing apps, our roundup of the best photo to pixel art apps sorts them by exactly this test, real pixelizers on one side and AI redraws on the other.
A creative variation: mosaic tiles
Square pixels are the default, but they are not the only way to rebuild an image out of flat cells. You can use other tile shapes and get a mosaic instead of a pixel grid.
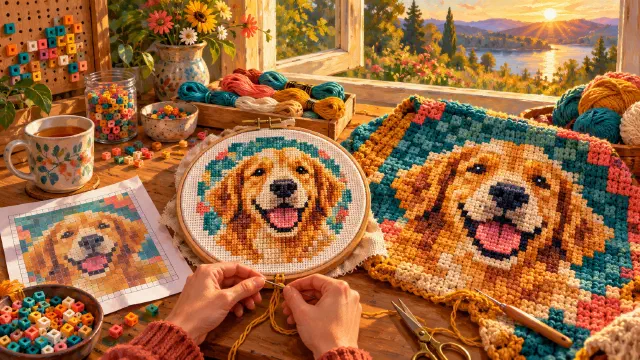
The idea rests on tessellation, covering a surface with shapes that leave no gaps and no overlaps. Only three regular shapes tile the plane perfectly on their own: the equilateral triangle, the square, and the regular hexagon. Swap the square for triangles or hexagons, let each tile take the flat color of the area it covers, and the same photo becomes a geometric mosaic with a different rhythm entirely. Koadro includes this: square and triangle tiles are free, and diamond and hexagon tiles come with the one-time purchase. It is the same honest downscale, just on a different grid.
Doing all six steps in Koadro
Koadro is built to do exactly this method, and only this method. It turns any image, a photo, a painting, a poster, or game art, into real pixel art with honest downscale math, not a generative redraw. Everything runs on your device. No account, no cloud, no ads, no watermark.
The controls map one to one onto the steps above. Crop and rotate to frame the subject. A resolution slider up to 128 cells free, 256 with the purchase, for the grid. A color-count control up to 16 free, 64 with the purchase, for the quantization. Every built-in palette free, including named sets and the retro CGA and PICO-8 palettes, plus reading a palette from your own image, with custom palettes part of the purchase. Floyd-Steinberg, ordered, and noise dithering, all free. Mosaic tiles for the tessellation variation. Crisp nearest-neighbor export up to 1024px free, 4096px or a PDF with the purchase, and real-size printing in centimeters or inches. A live preview updates as you touch any control, so you tune the result by eye instead of exporting and guessing.
The free tier is a genuine tool, not a trial: full pixelation, crop and rotate, every built-in palette, every texture and dither, up to 128 cells, up to 16 colors, export up to 1024px, and up to ten saved projects. Koadro Premium is a one-time purchase, no subscription, and unlocks 256 cells, 64 colors, monochrome in any color, diamond and hexagon mosaic, the beads and relief effects, real-size printing, export up to 4096px and to PDF, custom palettes, unlimited projects, and saved presets. It runs on iPhone, iPad, and Mac and on Android, and one purchase unlocks Premium across every device on the same store account.
Who this is for
If you want a specific image turned into real pixel art, this method is the tool. Pixel avatars in one look across every profile. Stickers with a subject cut clean and no watermark. Retro art in a palette you chose rather than a one-tap filter. Game references and fan art rebuilt honestly from the source. Physical prints at true size for a wall. In every case the value is the same: the result is your actual image, rebuilt in pixels you controlled, not a picture an app decided for you. Start with a clear photo, set the grid, cut the colors, choose the palette, dither if you need it, and export sharp. Or open Koadro and do all six with a slider and a live preview.