The fastest way to add a grid to a photo is a dedicated grid app like Overgrid: pick the image, set rows and columns, done. You can also do it in Photoshop or GIMP, with a free web tool, or with a ruler on a print. Each method works. The differences are speed, control, and one export gotcha that catches almost everyone.
This article is about getting the grid onto the photo. For the technique itself, squares, scaling, and transfer, read the complete guide to the grid method.
First, crop the photo to your canvas ratio
Before any grid touches the photo, the photo needs the same aspect ratio as the surface you will draw on. A 4:5 photo gridded and transferred to a 2:3 canvas comes out stretched, no matter how carefully you copy each square. Crop first, grid second. Every method below assumes you have done this, and it is the single most common reason a gridded transfer goes wrong.
The classic way: a print, a ruler, and a pencil
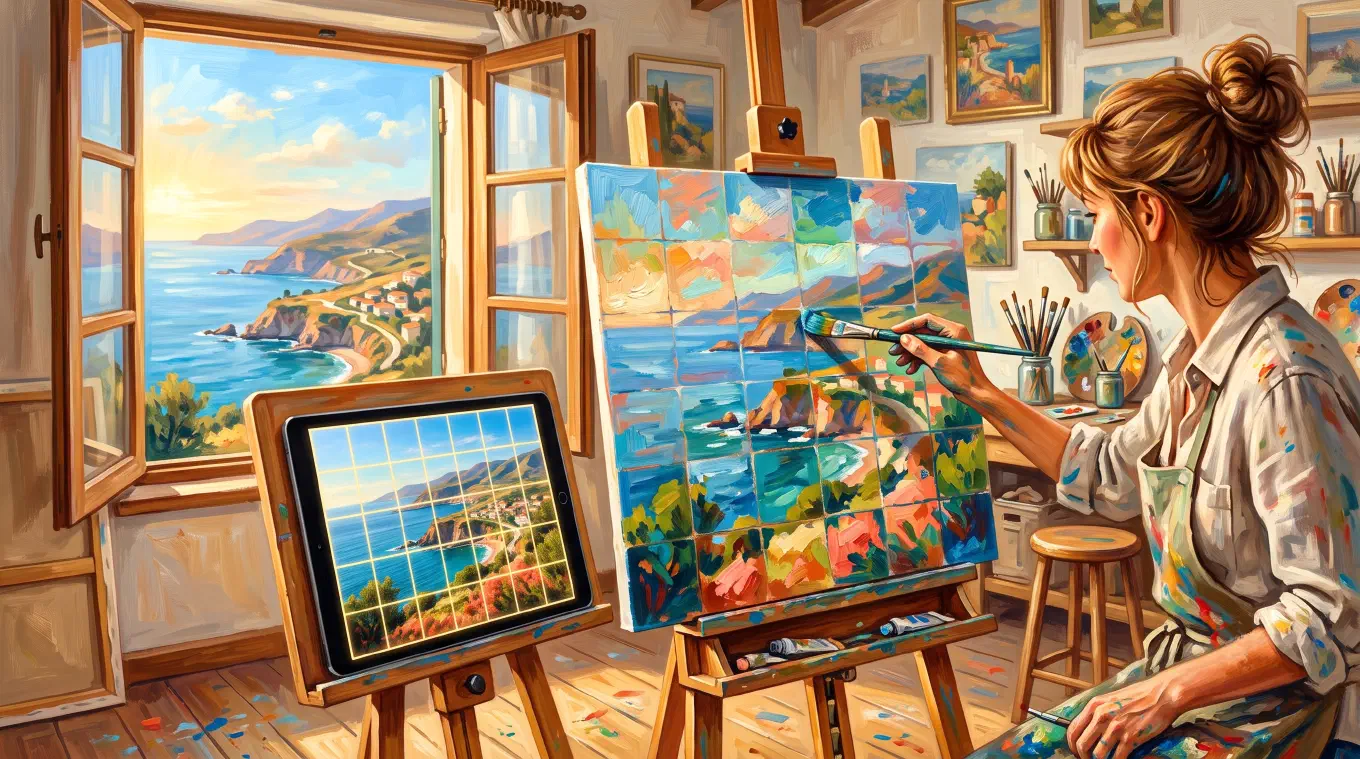
The original method still works. Print the photo, measure equal intervals along each edge with a ruler, and connect the marks with a fine pen or pencil. Then draw a matching grid on your paper or canvas, same rows, same columns, and copy one square at a time. The Art is Fun grid method tutorial walks through the full process, including keeping the reference and drawing at proportional sizes.
The trade-offs are real, though. Every grid change means a new print. Ink and paper add up. And a hand-ruled grid is only as accurate as your measuring, which matters when the whole point of the grid is accuracy.
Photoshop: powerful, with a trap
Adobe Photoshop can display a grid over any photo in seconds: View > Show > Grid. For precise control over rows and columns, View > Guides > New Guide Layout lets you specify exact counts and gutters.
Here is the trap. Both of these are screen aids, part of what Adobe calls Extras, and Extras never print or export. Save your gridded photo as a JPEG, send it to your tablet or printer, and the grid is gone. Countless artists have set up a beautiful guide layout only to discover their exported reference is grid-free.
To get a grid out of Photoshop, you have to make it from pixels: draw lines on a new layer with the line tool, or build a grid pattern and fill a layer with it, then flatten and export. It works, and you get Photoshop-grade control over every line. It is also a ten-step detour for what a grid app does in one.
GIMP: free, if you pick the right grid
GIMP, the free and open-source image editor, has two grids, and knowing which is which saves you the same frustration as in Photoshop.
Image > Configure Grid customizes the display grid, which, as the GIMP documentation on rendering a grid puts it, “is only an aid, and is only visible on the monitor or in a screenshot.” It will not export.
The one you want is Filters > Render > Pattern > Grid. This Grid filter renders the grid into the layer as actual pixels, with adjustable spacing, line width, offset, and color. Export the file and the grid comes with it. For a free desktop tool, this is the most capable option. The cost is GIMP’s learning curve and the fact that spacing is set in pixels, so getting an exact 8 by 10 layout means calculating the spacing from your image dimensions yourself.
Free web tools: fast, in the browser
If you are at a computer and want a gridded image with zero installs, a browser tool does it. Luuk Minkman’s grid overlay tool is a good free one: upload a photo, set the number of rows and columns, adjust line width and color, optionally enter your paper size in millimeters, centimeters, or inches, and download the image with the grid baked in.
Web tools cover the basics well. What they lack is the working session: no saved projects, no presets, nothing tuned for standing at an easel with the reference on a screen beside you.
What about Procreate?
Procreate, the iPad painting app, has a 2D Grid inside Actions > Canvas > Edit Drawing Guide, with adjustable color, opacity, thickness, and grid size, documented in the Procreate drawing guides handbook. If you already paint in Procreate, it is a fine guide for the canvas you are painting on.
But note what it is: a guide over your canvas, sized with a scale slider rather than row and column counts. It is not built to divide an imported reference photo into a specific 6 by 8 layout that matches a physical canvas. For digital painting inside Procreate, use it. For gridding a reference to transfer onto paper or canvas, it is the wrong tool.
The easiest way: a grid app built for this
Overgrid exists to do exactly this job. Pick a photo, and the grid is on it. From there, everything the other methods make you work for is a slider or a toggle: rows and columns, line color, line weight, opacity, cell numbering so you never lose your place, diagonals for composition, and lines, dots, or crosses at the intersections if full lines cover too much of the image. An adaptive contrast mode reads the photo and adjusts the grid color so the lines stay visible over both the dark forest and the bright sky, which is the problem every fixed-color grid eventually hits.
Two features matter especially for transfer work. Aspect ratio crop is built into the flow, so the photo matches your canvas proportions before the grid goes on. And real-life size mode inverts the usual setup: instead of choosing row and column counts, you enter your physical canvas dimensions and the square size you want, in centimeters or inches, and Overgrid computes the grid. The grid on your screen and the grid on your canvas are guaranteed to correspond, with no arithmetic.
When the setup is right, export the gridded image to print or send anywhere, or save it as a preset and reuse it on the next reference. Everything runs on your device: no account, no cloud, no ads, and your reference photos never leave your phone. The core grid is free, and the full toolset is a one-time purchase, not a subscription. Overgrid runs on iPhone, iPad, Android, and Mac.
Once the grid is on the photo, the drawing part begins. For that, see how to transfer a photo to canvas.
Which method should you use?
If you already live in Photoshop and need pixel-perfect custom lines, build the grid on a layer and export. If you want free desktop software, GIMP’s render Grid filter is the strongest no-cost option. If you are at a browser and in a hurry, a web tool like Luuk Minkman’s does the basics. If you draw digitally in Procreate, its 2D Grid guides your canvas.
And if you grid photos regularly, on the device you actually carry, a dedicated app wins on every count that matters: seconds instead of steps, a grid that always exports, sizes that match your real canvas, and references that stay private. That is the job Overgrid was built for.