To make a crochet pixel graph from a photo, pick your stitch first. One square of the graph becomes one C2C tile or one single crochet stitch, and those are very different sizes. Swatch, measure one square, divide the blanket’s width by it, then pixelate the photo to that many squares in a few yarn colors, with lines between them.
Most people do it the other way around. They find a photo they love, pixelate it until it looks right, and only later discover the blanket will be eleven feet wide. The fix is not a better app. It is doing the arithmetic in the right order.
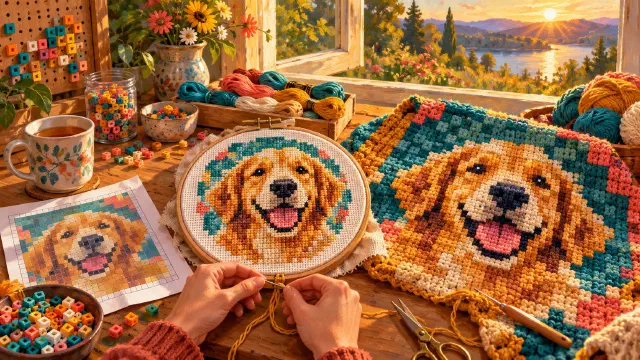
This is the crochet version of a broader method. If you want the same idea for cross stitch, fuse beads, or LEGO, start with how to turn a photo into pixel art with a grid. Here we go deep on graphghans: C2C, single crochet, and tapestry crochet.
What one square means in each crochet technique
A crochet pixel graph, the chart behind what crocheters call a graphghan, is a grid where every square is one unit of crochet in one flat color. What that unit is depends on the technique, and that changes everything about how big the graph should be.
Corner to corner (C2C). Each square is one tile. According to Sarah Maker’s C2C tutorial, “each tile is made from 3 double crochet stitches, plus their corresponding 3-ch turning chain,” and the graph is most commonly worked from the bottom right corner to the top left, in diagonal rows. Because a tile is several stitches wide, C2C graphs need far fewer squares than other techniques.
Mini C2C. A smaller tile on the same diagonal principle. Each square is still one tile, just a smaller one, so the same graph comes out smaller than in regular C2C.
Single crochet graphghans. Each square is one single crochet stitch, worked in rows. Single crochet is a small, dense stitch, so a single crochet graph needs many more squares for the same blanket, and it holds much finer detail.
Tapestry crochet. Also one square per stitch, usually single crochet. In tapestry crochet, the colors not in use “are either carried inside the stitches, dropped and picked up when needed (also called intarsia), or they run along the back of the stitches.”
The rule across all four is the same: one square on the graph, one unit on the hook. What changes is the size of that unit.
Choose the stitch before the photo
The same graph changes size dramatically depending on the stitch, so the stitch decides the grid, not the photo.
Kim Latshaw, a designer of C2C graphs, spells this out in Mastering Graph Sizes on The Crochet Couch. With her own yarn and hook, she multiplies the number of squares by 0.8 to get inches for C2C, by 0.6 for mini C2C, and by 0.3 for single crochet. Her example: a cat graph that works up to about 62 by 62 inches in single crochet would be about 164 by 164 inches in C2C, over thirteen feet on each side. She redesigned it to come out 64 by 64 inches in C2C.
So a graph is not a picture you choose and then crochet. It is a size you choose and then fill with a picture. Decide what you are making first: a baby blanket, a throw, a pillow, a bag panel. Then decide the stitch. Only then open the photo.
A practical consequence: C2C graphs are coarse. A throw might be sixty or seventy tiles across, which is not much detail for a face. If your photo depends on fine features, like eyes in a portrait or text on a sign, single crochet or tapestry crochet will hold them. If it is a bold shape on a plain background, like a pet silhouette, a flower, or a logo-like symbol, C2C is fast and forgiving.
Work out the grid from your own gauge
The number of squares across is the finished width divided by the width of one square. Everything else follows from measuring that one square honestly.
Kim Latshaw’s numbers are her personal gauge, not a standard, and she says so: yarn weight and hook size play a large part in the final size. Her method is to crochet 10 rows in your chosen technique, yarn, and hook, then measure the width and the height with a ruler. Do that. Block the swatch the way you will block the blanket, measure it, and divide by the number of squares in it.
For a rough starting point before you swatch, the Craft Yarn Council’s yarn weight standards list medium or worsted weight yarn, the usual graphghan yarn, at 11 to 14 single crochet stitches per 4 inches on a 5.5 to 6.5 millimeter hook. The Council labels these “guidelines only,” and your tension will move them.
The arithmetic, using Latshaw’s figures as an example:
- C2C throw, 50 by 60 inches, at 0.8 inches per tile: 50 ÷ 0.8 is about 62 tiles across, and 60 ÷ 0.8 is 75 tiles up. A graph of roughly 62 by 75.
- The same throw in single crochet, at 0.3 inches per stitch: about 167 stitches across and 200 rows up. More than seven times as many squares, and a lot more detail.
Write your two numbers down before you open the photo. They are the whole specification.
Single crochet is not quite square, so check both directions
A square on the graph is square. A single crochet stitch usually is not, and the difference shows up across a whole blanket as a picture that comes out squashed or stretched.
Whether your stitches run wider than tall or taller than wide depends on your tension, your yarn, and your hook, and crocheters report both. The only reliable answer is your own swatch: count the stitches in 4 inches across and the rows in 4 inches up. If they match, a square graph works as is. If they do not, the picture will distort by exactly that ratio.
The fix is to distort the photo first, in the opposite direction. Say your swatch has 14 stitches but 16 rows in 4 inches. Your rows are shorter than your stitches are wide, so a square graph would come out short and wide. Stretch the photo taller by 16 ÷ 14, about 14 percent, in any photo editor that resizes without keeping proportions, then pixelate the stretched photo. The graph will look tall on screen and come out right in yarn.
C2C has less of this problem. Each tile is a little block of stitches worked in both directions, and Latshaw’s figures use one number for both width and height. Still, measure a few tiles both ways before you commit to a large blanket.
Choose colors like you are buying yarn
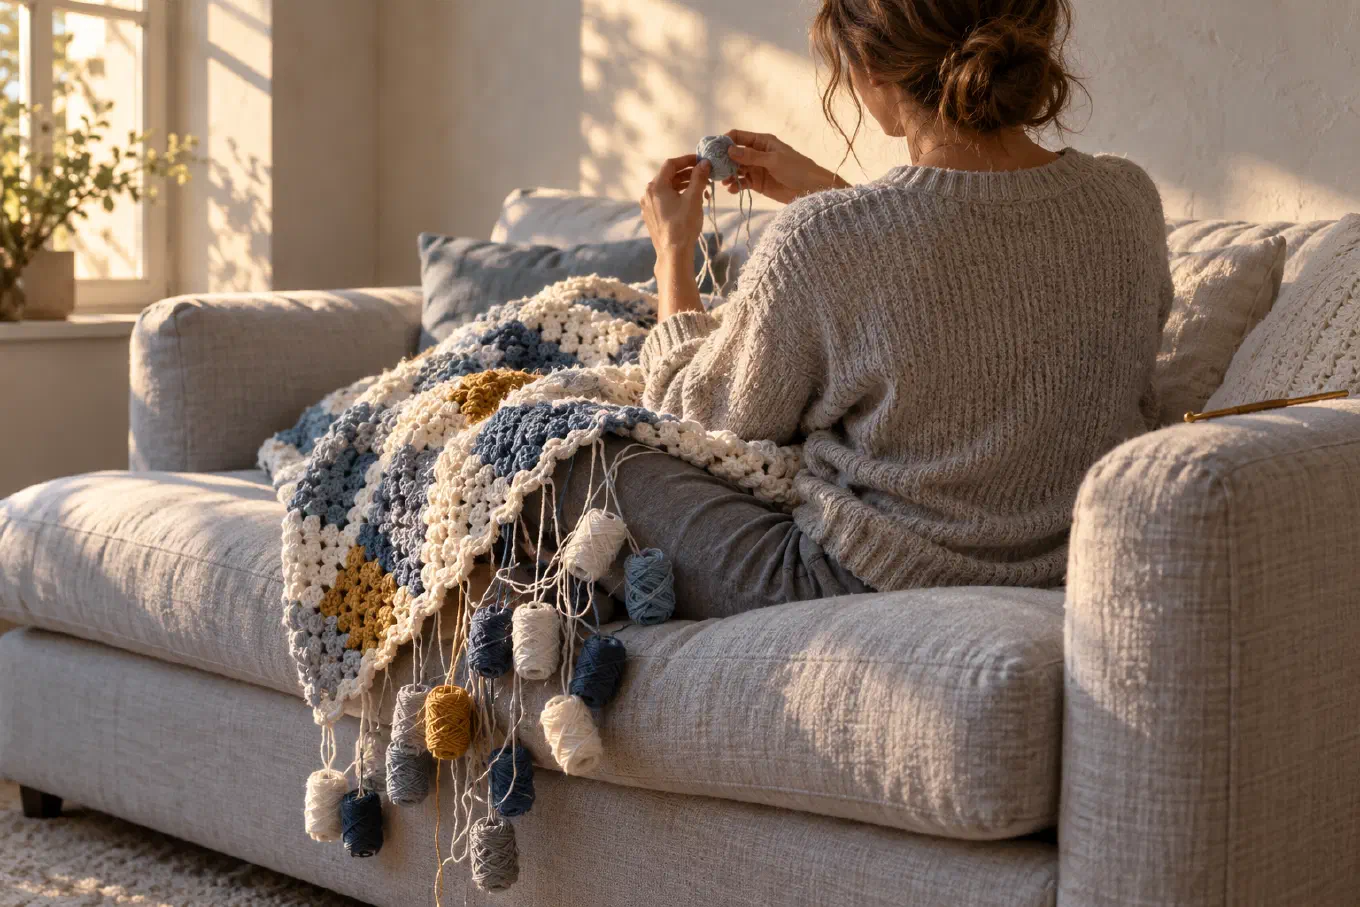
In a crochet graph, every color is a skein you buy and a strand you manage. In C2C, Sarah Maker recommends organizing each color on its own bobbin or clip, and every color in a diagonal row is another bobbin hanging off the work. Colors cost hours, not just money.
So cut harder than looks necessary:
- Start with five or six colors. Add one at a time and stop when the subject reads. A pet or a single flower often holds in that range. A portrait usually needs more.
- Turn dithering off. Dithering scatters squares of two colors so the eye blends them into a third. On a screen it looks smooth. In yarn, each scattered square is a separate color change and two more ends to weave in. Solid areas of color crochet much faster.
- Hunt down lonely squares. A single square of one color in the middle of another is a cut, a join, and two tails for one tile or one stitch. On a printout, circle them and decide whether to recolor them by hand. Sarah Maker’s guide only carries yarn across short distances, one or two tiles, and only where the carried color will be touching a tile of the same color, so isolated squares are where a C2C graph gets slow.
- Check the colors against real yarn. Two shades that look different on a bright screen can be the same color in the yarn aisle. If you cannot buy two distinct yarns for them, merge them.
In Koadro, the Colors slider sets the count directly, and the Adaptive palette reads those colors from your own photo, so the shades it keeps are the ones the picture actually has. If you already own the yarn, Premium lets you build a Custom palette: pick each color by eye in the color picker to match your skeins, name it, and the photo uses only those colors, each square snapping to the nearest one. The match is by eye, not by yarn code. Koadro has no yarn brand palettes.
Making the graph in Koadro
Koadro turns a photo into a real pixel graph by downsampling your actual image, not by having an AI redraw it, so every square comes from a color measured in your photo. It runs on your device with no account and no watermark. Here is the whole graph, in order:
- Pick a photo with a strong shape. A clear subject against a plain background survives the drop to a few dozen squares. A busy background turns into noise you will have to crochet.
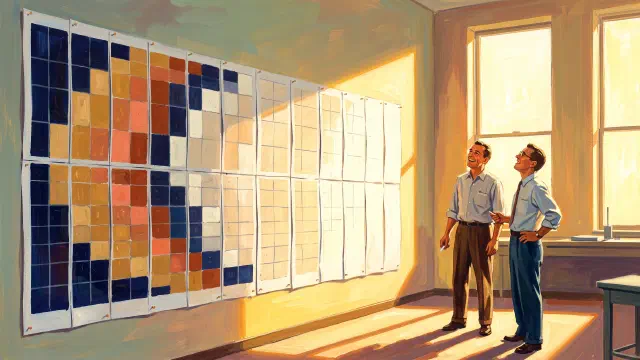
- Crop to the blanket’s shape. Crop has fixed ratios and a custom ratio where you type your own numbers, so a 50 by 60 inch throw is a 5:6 crop. Crop tight: background squares are squares you crochet too.
- Use Enhance if the photo is flat. It moves white balance, brightness, contrast, and saturation together, which helps the color areas separate before they become squares.
- Set the Resolution to your long side. Resolution counts squares along the longest side, and the exact grid, columns by rows, is shown under the slider. For the C2C throw above, set 75 and you get about 62 by 75. A large single crochet graph can need more squares than the free tier allows. Premium raises the ceiling.
- Set the Colors. Start low, then add.
- Set Texture to Flat. Flat is the option without dithering, so you get solid areas.
- Turn on Lines and Outlines. Both effects are free. Lines draws thin gray lines between every square so you can count a row. Outlines draws a darker line where two colors meet, so each color area reads at a glance, which is exactly what you need when you are reading a C2C graph on the diagonal.
- Export. The free tier exports an image with no watermark. Premium adds a larger image and a vector PDF that prints sharp at any size, which matters when you tape a big graph to the wall.
With Premium, Real size mode skips the division. Enter the blanket’s width and the size of one square, say your measured tile width, in centimeters or inches, and Koadro computes the grid. It uses one size for both directions, so for single crochet that is not square, stretch the photo first as described above.
Reading the graph while you crochet
A printed graph is a map you will read thousands of times, so make it easy to keep your place.
For C2C, Sarah Maker draws diagonal lines through the chart as she finishes each row, to keep track of what she has already crocheted. Do the same on your printout. For single crochet worked in turned rows, remember that every other row reads in the opposite direction, so cross off each row as you finish it rather than trusting your memory.
Koadro does not number rows or columns or draw a heavier line every ten squares, so add those by hand. Number every tenth row and column in the margin and rule a darker line every ten squares with a ruler. Ten minutes of pencil work saves hours of counting.
On your phone, Koadro opens the art full screen, where you can zoom in with two fingers and rotate it in quarter turns to match the way you hold the work.
Estimating yarn per color
Koadro does not count how many squares use each color, so the estimate is yours, and it is simpler than it looks.
First, find how much yarn one square takes. Measure a length of yarn, crochet tiles or stitches from it until it runs out, and divide the length by the number of squares you made. Then count, or estimate, the squares of each color on the printed graph. Large solid areas can be counted as rectangles. Multiply squares by yarn per square, and add a generous margin for color changes, tails, and weaving in. With five or six colors, this is an evening’s work, which is one more reason to keep the palette small.
What Koadro does not do, and where to go for it
Koadro makes the graph: the pixelated picture, in your colors, with lines and outlines you can count. It does not number rows or columns, count squares per color, make symbol charts, write C2C written instructions, or include yarn brand palettes. The full honest list is in the chart makers section of our grid guide.
If you prefer to crochet from written instructions instead of reading a graph, a dedicated pattern tool is the right next step. Stitch Fiddle can start from an uploaded picture and convert a pixel pattern into written instructions, row by row, with the colors and stitch counts for each row. Koadro is a good place to get the picture right before you hand it over.
Get started
Koadro is on iPhone, iPad, and Mac and Android. The free tier is a complete graph maker for most blankets: crop and rotate, Enhance, every built-in palette, every Texture option, the Lines and Outlines effects, and image export with no watermark. Premium is a one-time purchase, no subscription, that adds a higher resolution and color ceiling, Custom palettes, Real size mode, a larger image export, and a vector PDF for printing.
If you are still choosing a tool, the best photo to pixel art apps compares the field honestly. If you want to understand resolution, palettes, and dithering in more depth, how to turn a photo into pixel art walks through each step.
The short version
Choose the stitch, swatch, and divide. That gives you the grid. Crop the photo to the blanket’s shape, pixelate it to that grid in as few colors as you can stand, keep dithering off, and turn on the lines. Then pick up a pencil, number the rows, and start in the corner.